Yarn for beginners
Discover the perfect yarn for beginners in our specialized category. Knitting is a creative and relaxing activity that can be enjoyed by everyone, even those who are new to the art of knitting. Our selection of beginner yarns is carefully chosen to offer a smooth and satisfying knitting experience. With quality yarns and easy-to-handle textures, you will feel comfortable and confident while knitting your first creations. Whether you’re just learning to knit or crochet, our beginner yarn will help you develop your skills and create stunning projects. Explore our wide range of colors and types of wool, from soft acrylic wools to warm, natural sheep’s wool. No matter which one you choose, we guarantee a versatile and high quality yarn that will accompany you in your first steps in the world of knitting. Buy now our yarn for beginners and discover the joy of knitting your own garments and accessories!
Mostrando 1–24 de 29 resultadosOrdenado por los últimos

-
-
-
- ¡Oferta!
Spanish merino balls for Fitu sweater
79,00 € – 99,00 € (IVA incluido) Seleccionar opciones Este producto tiene múltiples variantes. Las opciones se pueden elegir en la página de producto - ¡Oferta! Agotado
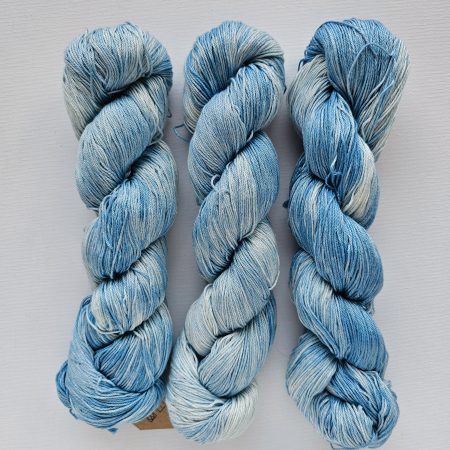
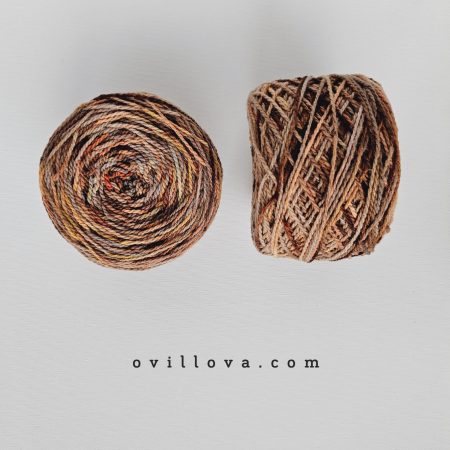
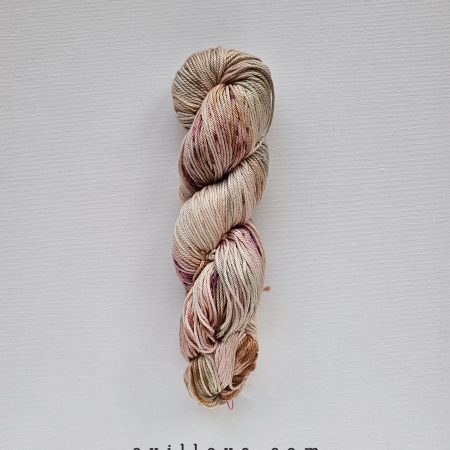
Lluvia de otoño
El precio original era: 20,00 €.16,00 €El precio actual es: 16,00 €. (IVA incluido) Leer más - ¡Oferta! Agotado
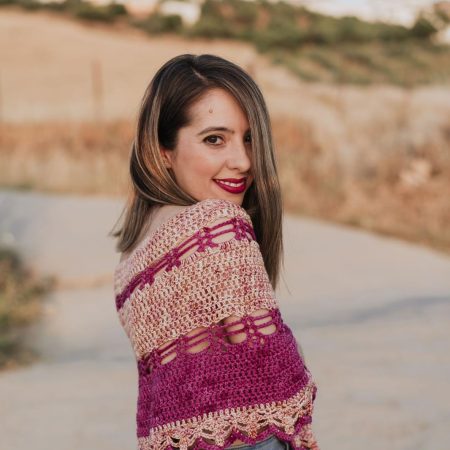
Flores de invierno
El precio original era: 63,00 €.45,00 €El precio actual es: 45,00 €. (IVA incluido) Leer más - ¡Oferta! Agotado
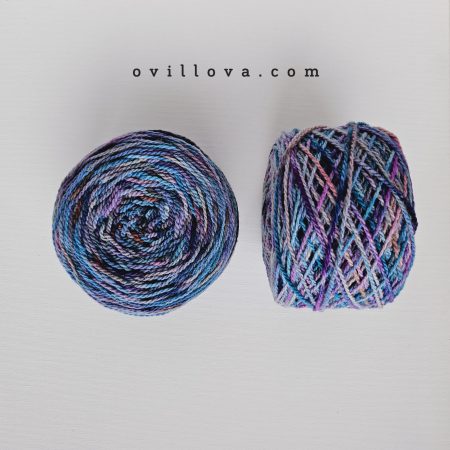
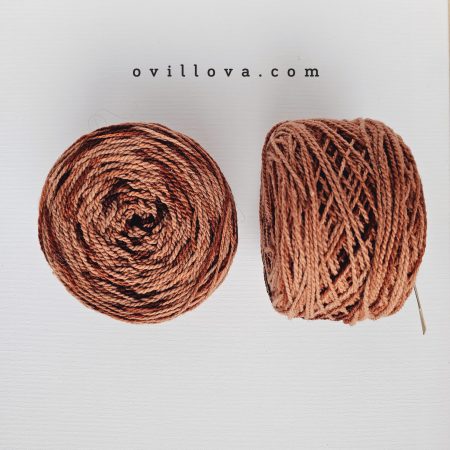
Canta
El precio original era: 23,00 €.16,00 €El precio actual es: 16,00 €. (IVA incluido) Seleccionar opciones Este producto tiene múltiples variantes. Las opciones se pueden elegir en la página de producto - ¡Oferta! Agotado
Gaupasa
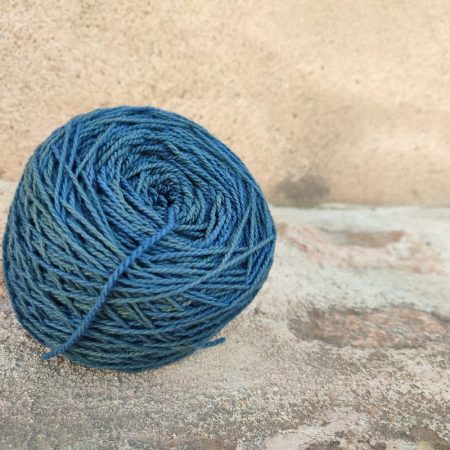
17,00 € – 22,00 € (IVA incluido) Seleccionar opciones Este producto tiene múltiples variantes. Las opciones se pueden elegir en la página de producto Resfeber
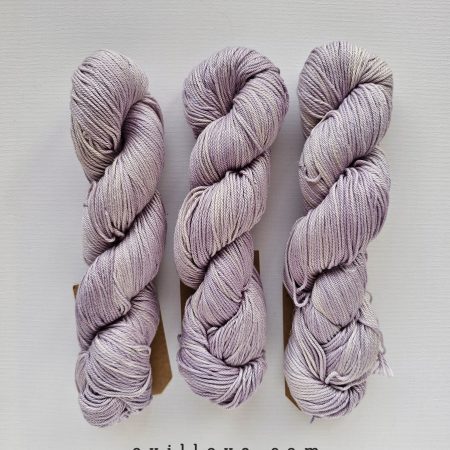
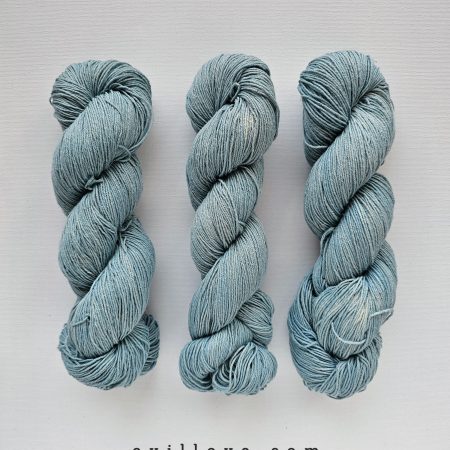
22,00 € (IVA incluido) Seleccionar opciones Este producto tiene múltiples variantes. Las opciones se pueden elegir en la página de productoPima candies
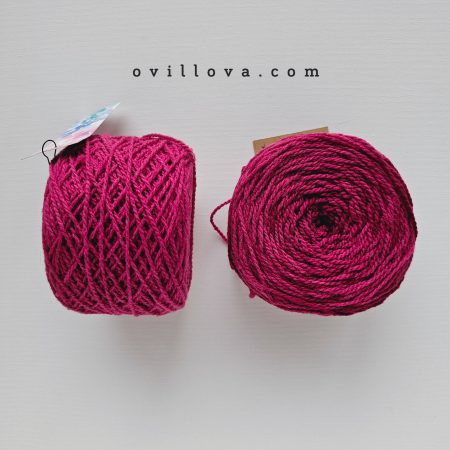
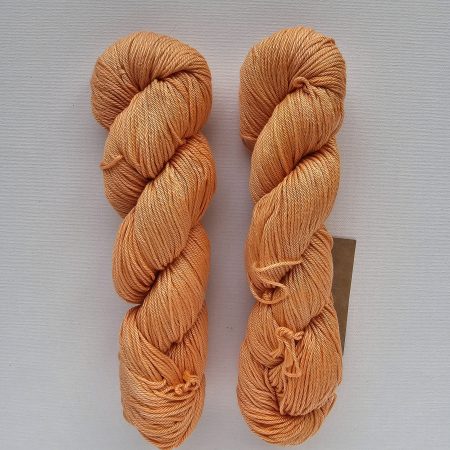
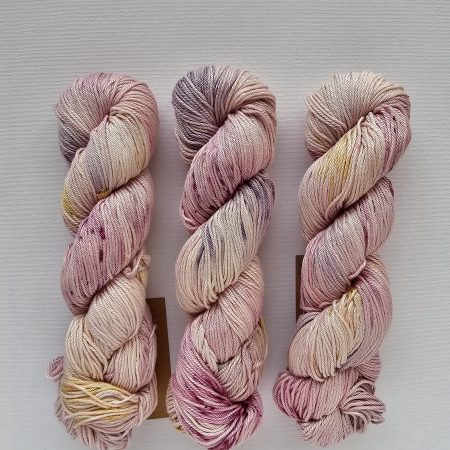
25,00 € (IVA incluido) Seleccionar opciones Este producto tiene múltiples variantes. Las opciones se pueden elegir en la página de productoWine and Pima Roses
25,00 € (IVA incluido) Seleccionar opciones Este producto tiene múltiples variantes. Las opciones se pueden elegir en la página de producto-
-